Showing posts with label Crafts. Show all posts

Wednesday, May 23, 2018

Temple Worthiness Primary Activity

My Primary class did this Temple Worthiness project.  We used two resource pages (see below) from the Church website.  One was the Temple puzzle they put together and then they colored, cut out and glued the items they could do to be worthy for the Temple.


Click here to find the Salt Lake Temple puzzle.
Click here to find the Temple worthiness page.

Friday, April 6, 2018

Easy Felt Doll Sleeping Bag


This doll sleeping bag is super easy, even if you are not much for sewing!


Cut a piece of strong fabric, like felt, in a rectangle shape that is twice as long as the doll you are making the sleeping bag for and at least two inches wider on each side.  (For example, for a 12" doll the rectangle would be 24" x 6")


Fold the piece of felt in half.


Thread a needle with a long strand of string (or more than one if you are going through thicker material or need a stronger strand).


Start sewing at the base of one side down by the crease edge so that your stray strands of string don't stick out the top of the sleeping bag.  (You can see I didn't do this in the picture.)


You can use any sewing type you like as long as you sew up the edge completely.


Once you have sewn down both edges you can tie off and cut the strands.


Turn the material inside-out so that the sewn edge is on the inside.


Straighten the corners and you are all finished!


Saturday, February 17, 2018

Easy Crochet 11.5" Doll Pullover

11.5" Doll Pullover

Abbreviations (US)
ch - Chain
sl st - Slip Stitch
dc - Double Crochet

Round 1 - ch 16, Join with sl st

Round 2 - ch 3, [dc in next st, ch 1] repeat around, join with sl st to end ch

Round 3 - ch 2, [dc in next st, dc in ch sp] repeat around, join with sl st

Round 4 - ch 2, dc in each st around, join with sl st

Round 5-7 - Repeat Round 4

Round 8 - sc in each st around, join with sl st, tie off, weave in ends

Sunday, February 11, 2018

Crochet 11.5" Doll Party Dress - Free Pattern


Crochet Dress


F hook
4 oz yarn (I think, I just used some of my leftover yarn in my yarn box)


Abbreviations (US Terms)
Ch - Chain
Sl - Slip
St - Stitch
Sc - Single Crochet
Dc - Double Crochet
Tr - Triple (Treble) Crochet
w/ - with
btwn - between


Notes
Working in the round for skirt
Numbers at end of line instructions in ( ) include ch st


BeltLine: Ch 20, connect to beginning with sl st


Skirt
Round 1: ch 2, dc around in each ch, join w/ sl st to 2nd ch (20)
Round 2: ch 2, [skip 2 sts, 5 dc in next st] repeat around, 4 dc under ch sts, sl st to top ch st
Round 3: sl st 1 st over to 3rd dc of shell, sc in 3rd dc of shell, [2 dc in sp btwn shells, tr in dc
of Round 1 btwn shells, 2 dc in sp btwn shells on other side of tr, sc in 3rd dc of shell] continue
around, sl st to sc
Round 4: ch 2, 2 dc in sc below ch, [sc in 3rd sp of shell, 5 dc in sc] continue around, sc in
3rd sp of shell, 2 dc in sc below ch, sl st to top of ch
Round 5: ch 1, [5 dc in sc sp, sc in 3rd dc of shell] continue around, sl st to ch 1
Round 6: Repeat Round 4
Round 7: Repeat Round 5
Round 8: Repeat Round 4
Round 9: Repeat Round 5
Round 10: Repeat Round 4
Round 11: ch 1, sc around, sl st to close, cut yarn and weave in end


Top
Round 1: ch 1 to Beltline in back between dcs, sc to beltline in between dcs around, attach to
beginning with sl st (20)
Row 2: ch 2, turn, dc in each st across (20)
Row 3: ch 1, turn, sc in each st across, don’t sc in the ch at end (19)
Row 4: ch 2, turn, dc in each st across don’t dc the ch at end (18)
Row 5: ch 1, sc in sp w/ ch, sc in each st across including dc in the ch at end (19)
Row 6: ch 2, turn, dc in sp w/ ch, 2 dc in next 2 sts, 1 dc in next 12 sts, 2 dc in next 3 sts (24)
Row 7: ch 1, turn, 2 sc in same sp as ch, 2 sc in next st, 1 sc in next 20 sts, 2 sc in next st,
3 sc in ch sp (29)
Row 8: ch 2, dc in each st across (29)
Row 9: sl st in first 3 sts, ch 1, sc across, stop before doing last 3 sts (22)


Strap 1
Row 1: turn, sl st in next 2 sts, ch 1, sc in sp w/ ch, sc in next st (3)
Row 2: ch 1, turn, sc in sp w/ ch, sc in next st (3)
Row 3 - 9: Repeat Row 2
Connecting strap to front of dress: Skip 4 sts, sl st in 5th dc from Row 9 of top, sl st in
middle sc of strap, sl st in next st of dress, sl st to last st of strap, 6 sc in next sts


Strap 2
Row 1: ch 1, sc in st w/ ch, sc in next st (should be 4 sc between straps in front of dress)
Row 2: ch 1, 2 sc in next sts
Row 3 - 8: Repeat Row 2
Connecting strap to back of dress: Skip 4 sts, sl st in 5th dc, sl st in middle sc of strap,
sl st in next st of dress, sl st to last st of strap, sl st to next st of dress, cut and weave in end
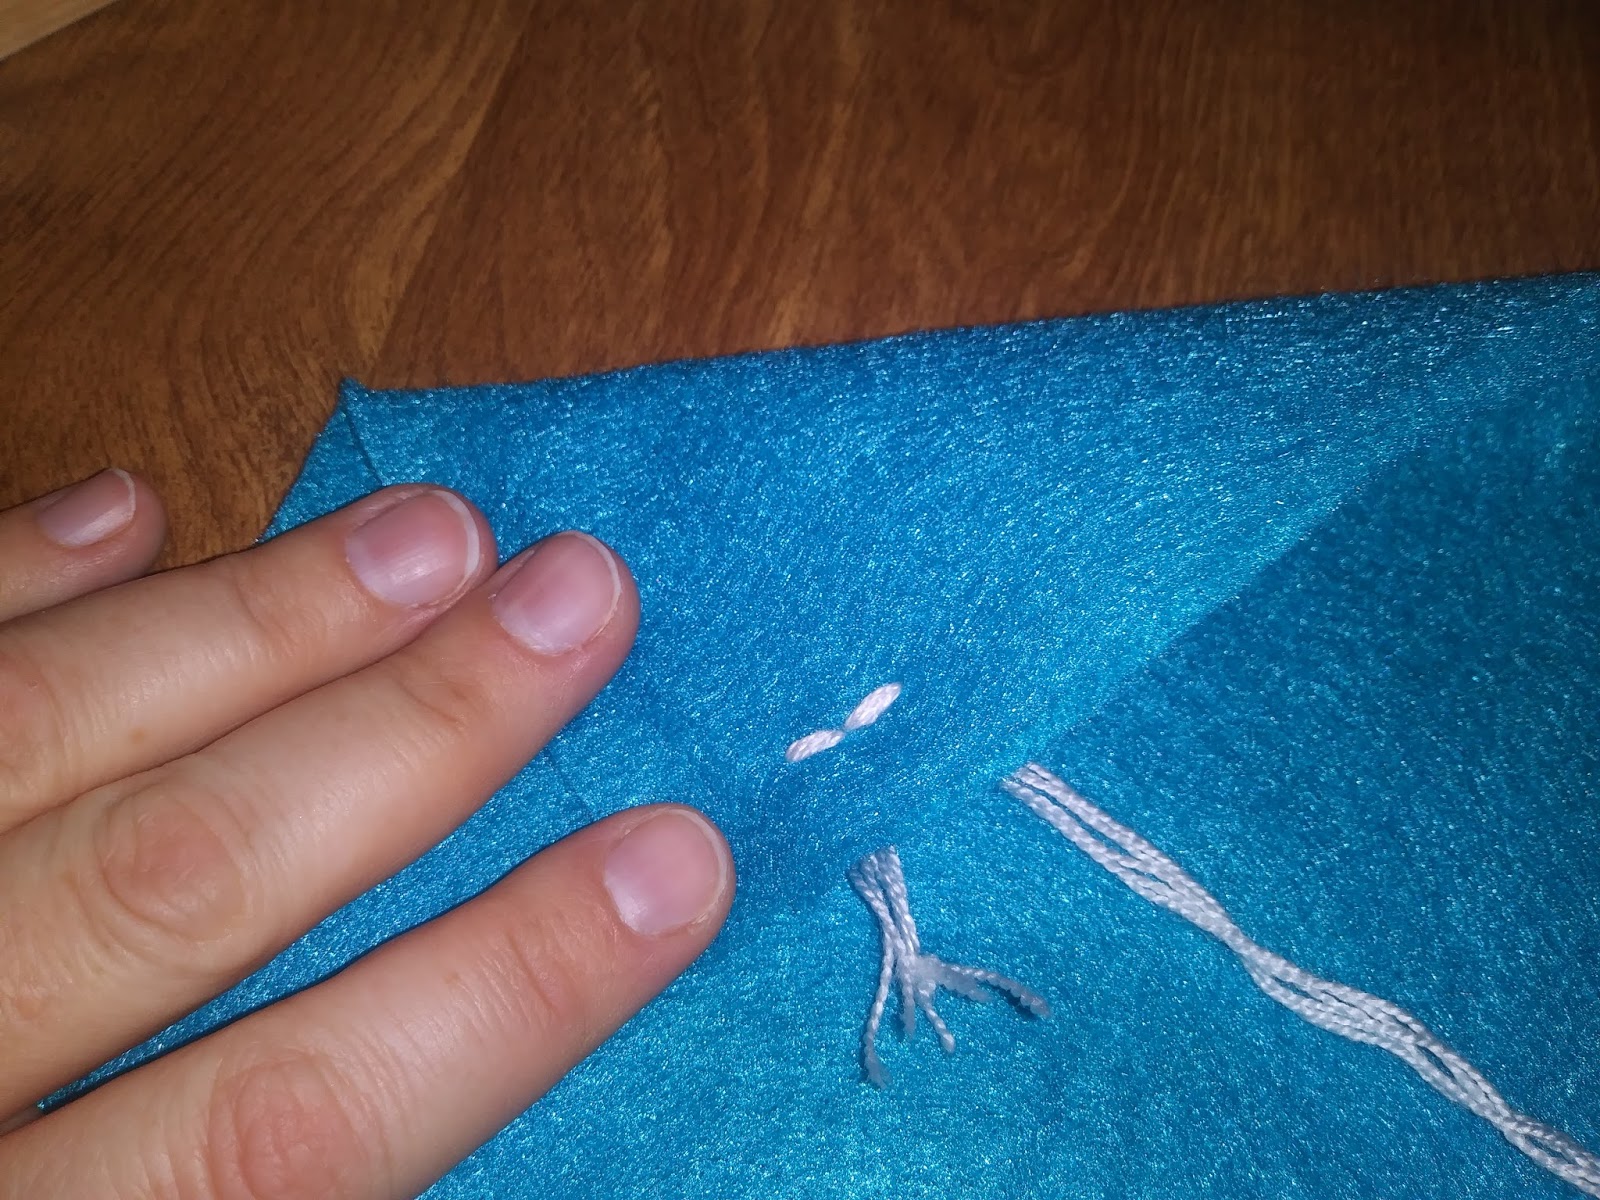

Button
Sew the button on the left side of the back of the dress between rows 8 and 7 around the
5th dc from the end

Button goes between 2nd and 3rd dc on other side in row 8

Thursday, February 8, 2018

Valentine's Day Project


Valentine's Day Idea


First you have to make a bunch of these crochet hearts.  For instructions, click here.


We used foam Valentine's Day stickers from the Dollar Tree.


We bought Valentine's Day suckers.  My daughter wrote her name on a bunch of the large foam heart stickers and stuck one to the back of each sucker.


Thread the sucker stick through the back of the crochet heart.  Use the Sweetheart stickers (or any other two stickers that are about the same size) on either side of the end of the sucker stick to keep it from pulling back through the heart.


Easy Crochet Heart


This crochet heart is super easy and quick!

This is a great project for using up excess yarn.  Any yarn weight will work.  Just use the crochet hook called for by the type of yarn.  For the heart above, I used two strands of yarn together and a 'K' hook.

Abbreviations (US Terms)
ch - chain
sc - single crochet
hdc - half double crochet
dc - double crochet
tr - triple (treble) crochet
sl - slip
st - stitch

First, make a 'magic ring'. Ch 2

Round 1: (3 tr, 4 dc, 1 tr, 4 dc, 3 tr) into magic ring.
Pull the magic ring mostly closed, ch 2, sl st into small hole in magic ring. Pull magic ring tightly closed.

Round 2: sc in ch-sp, 2 hdc in next st, 3 hdc in next st, 1 hdc in next 3 sts, 2 hdc in next st, (hdc, dc, hdc) in next st, 2 hdc in next st, 1 hdc in next 3 sts, 2 hdc in next st, 3 hdc in next st, 2 hdc in next st, sc in ch.  Cut yarn with about 4 inch tail.  sl st in ch, pull through.

To Finish: Pull the tail through the top ch toward the back.  Pull the ring tail through the top ch toward the front.  Tie them together at the top and cut off any excess.

Easy Crochet Heart using a really heavy weight yarn and an M crochet hook.

Wednesday, February 7, 2018

Pottery Cool Review


This stuff is amazing!


My cousin bought my daughter this Pottery Cool pack for Christmas.  She didn't realize that it required the Pottery Cool Studio in order to work properly.  I thought about buying the studio but decided not to for fear we wouldn't use it and it would end up in my bottomless box of crafts in the basement.  


I opened the box to find some really weird parts but once I read the directions, it all made sense. We used all the pieces as intended to make a really cute critter (see picture above).  We opted not to make it a bank because it occurred to us that it would be really hard to get the money out since the sculpture is completely closed.  The only difference between ours and one using the studio would be that on the pottery wheel the clay would be a lot smoother, but considering the fact that we didn't have one, I think our end product turned out great.

The kit even includes stencils for all of the other small parts like eyes and ears.  It is practically fool-proof and really fun.  The instructions are easy to follow with helpful pictures.  The clay is dry and ready to paint in 24 hours.  The kit even comes with paint.  I would definitely buy this product again (just maybe not one of the kits that requires the Studio)!

Monday, January 29, 2018

Valentine's Crochet Kid's Skirt


Crochet Kids Skirt Instructions

Abbreviations (US Terms)
ch - chain
dc - double crochet
sc - single crochet
sl - slip
st - stitch
hdc - half double crochet

Notes
Weave ends as you work
Stitch count is at end of round in ( )
Join rounds with sl st to first st
These instructions make a size 10/12 skirt with 5 skeins of Lion Brand Bulky Charisma Yarn


Round 1 - ch 70, Join with sl st to first ch
Round 2 - ch 1, sc in each ch to end (70 sc)
Round 3 - (belt loops) ch 4 (counts as ch 1 + dc), skip 1, [dc in next st, ch 1, skip 1]
repeat to end (35 dc)
Round 4 - ch 3, dc around (70)
Round 5-7 - Repeat Round 4
Round 8 - Join Color 2, ch 1, [sc & dc in next st, skip 1] repeat to end, join (70)
Round 9 - ch 1, turn, *[sc, dc, sc, dc] in next sc, skip dc, [sc, dc] in next sc]*
repeat between *’s to end, join (106 not incl ch)
Round 10 - ch 1, turn, [sc, dc] in each sc to end, join (106 not incl ch)
Round 11-29 Repeat Round 10, joining different colors if desired (106 not incl ch (or 53 [sc, dc])
Round 30 - ch 1, turn, [sc in next sc, ch 2] repeat to end, join (53 sc)
Round 31 - Turn, sl st into next ch space, ch 5 (counts as hdc + 3 ch), [hdc in next ch space, ch 3],
repeat to end, join
Round 32 - Repeat Round 31
Round 33 - Turn, ch 1, [sc, hdc, sc in each ch space] Repeat to end, join

Drawstring - I used all of the yarn that I used in the skirt and braided it to make the drawstring.


Thursday, January 25, 2018

Knitting Loom Infinity Scarf - Short

Bulky Infinity Scarf


For this project, I used 1 Skein of Lion Brand Homespun Thick & Quick.  I also used a long knitting loom and hook.


First, make a slip-knot and attach it to the peg on one end of the loom.


There are several ways to use a knitting loom.  These directions make a really nice, thick scarf.  Wrap pegs on the opposite side from the end the yarn is hooked to so that the yarn crosses over itself.


I wanted this scarf to be really wide so I went all the way to the end of the loom.  If you want a more narrow scarf you can stop anywhere on the loom.  Go ahead and experiment.  If you need more detailed instructions for a thinner scarf check out this blog post

Once you get to the end (or wherever you stop), push the loops down to the bottom of the pegs to make room for the second row.


Then turn around and go back the opposite way wrapping just like you did before so that the yarn crosses over itself.  Now you have two loops on each hook except for the very first one farthest from the yarn tail.


Wrap the yarn around the peg at the end to hold it in place and then use your hook to lift the bottom loop over the top and off of each peg.


Continue down both sides until all pegs have only one loop on each.


Push the remaining loops down to the bottom of the pegs so that you can start wrapping another row.


Wrap another row in the same way so that there are two loops on all but the first peg again.


Keep going in this way and your product should look much like the picture above.  Occasionally pull gently on the emerging scarf to keep it from bunching up and getting in your way.


When your scarf is the length that you want it (or you are down to about two feet of yarn) you will need to cast it off of the loom.  This is easiest to do with a crochet hook, although you can use your knitting loom hook as well.  Start at the end opposite the tail, go under the loop and lift it off the peg.


Then go under the loop across from that peg and lift that loop off the peg.  You now have two loops on your hook.


Lift the back loop, the one you hooked on first, over the loop closest to the hook.  Now you have only one loop on your hook again.


Keep going across from peg to peg pulling the back loop over the front loop until you make it to the end and the scarf is no longer connected to the loom.  Then pull the tail all the way through the last loop to tie it off.  


The tail needs to be about 2 feet so that you can sew the ends of the scarf together to make an infinity scarf. However, if you didn't make it long enough you can always sew the scarf with a different color yarn.


Now you have a regular scarf.  If you choose not to make it an infinity scarf, then you can just weave in the ends and you are done.  However, if you want an infinity scarf (a scarf where the ends are connected together) then follow the next instructions.


Get a large needle, metal or plastic is fine, and thread the long tail.


Put the ends together and start sewing.  Try to match up the ends so that the corners touch.  Sew through both holes in the ends of the scarf, then pull the needle through and over the end of the scarf.  Push the needle through the next set of holes on the same side as last time.  Once you make it to the end, tie off and cut the tails.  Turn your infinity scarf inside out and you are all set to wear it.


The infinity scarf can be worn as above where I just put it over my head and then bunched it in front to keep my neck warm, or you can wear it over your head and around your neck.  Enjoy!

First Blog Post

We recently moved from the city to an 1880's farmhouse on 8 acres off of a two-lane dirt road.  My daughter turned 6 at the end of Novem...